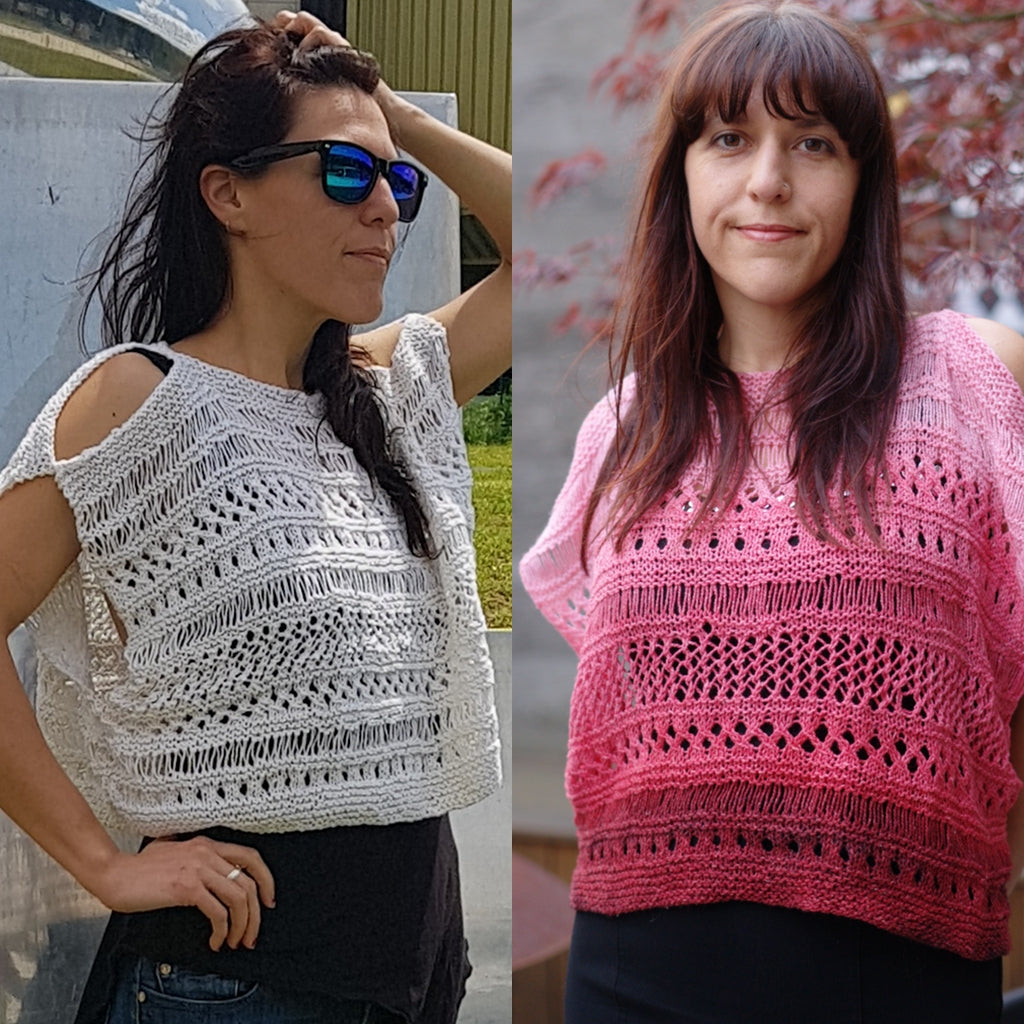
Gradient Dyeing My Cancun Boxy Lace Top
When I came across the Cancun Boxy Lace Top I knew immediately that I wanted to knit it first then do a gradient dye, which is slightly different than gradient dyeing a sock blank and then knitting. In a sense- it's riskier because you invest all your time in the front end and then it can all go horribly wrong at last minute. But, that's pretty much how I do everything in my life... it only backfires half the time.
Writing this now though, I can assure you that this time it's worked!
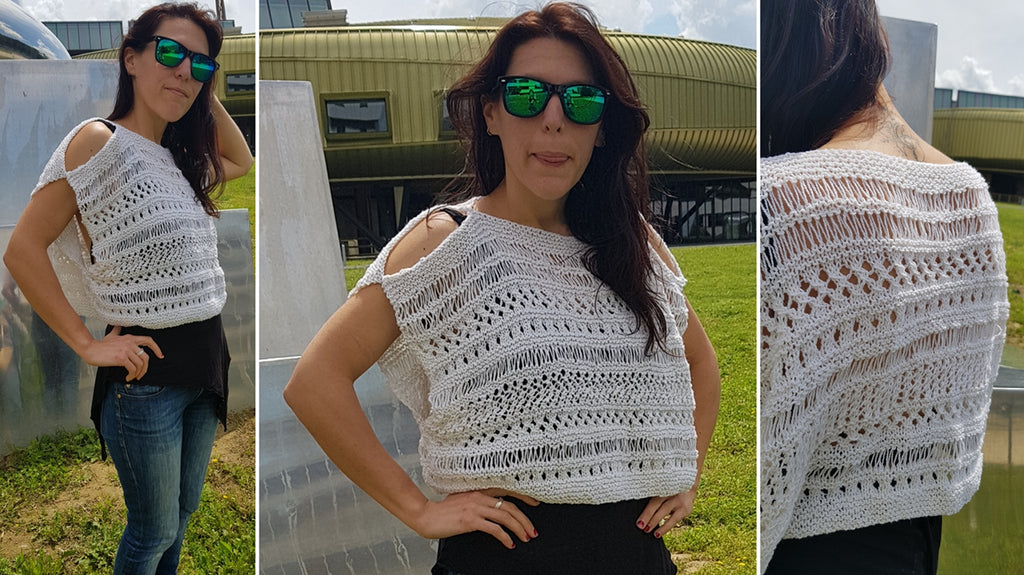
I began by knitting the Cancun Boxy Lace Top in White Elsebeth Lavold Silky Wool. I love the feel of this yarn and I've dyed it a few times, creating my own colorways from scratch, and also overdyeing yarns that already have color. Plus I knew from the outset that I would need to use something that was 100% animal fibers because I wanted to use Jacquard Acid Dyes rather than RIT dyes.
|
Note: I knew I wanted to dye the boxy red and I have used red RIT dyes before, and no matter how much I heat set it, no matter how many times I'd wash it, the red would always bleed all over everything else in the wash. I have never had any bleeding from Jacquard Acid Dyes. |
The Method
Before I did any dyeing, I soaked the garment and swatches in water, and squished out excess water before placing it in the dye bath. For the dye bath I used a hotplate with ¼ cup of vinegar to 4 cups of water, let that heat up in the hot plate, but turned it down before it boiled. Then I mixed in 1 tsp of Russet 616 Jacquard Acid Dye, and did a couple tests first.
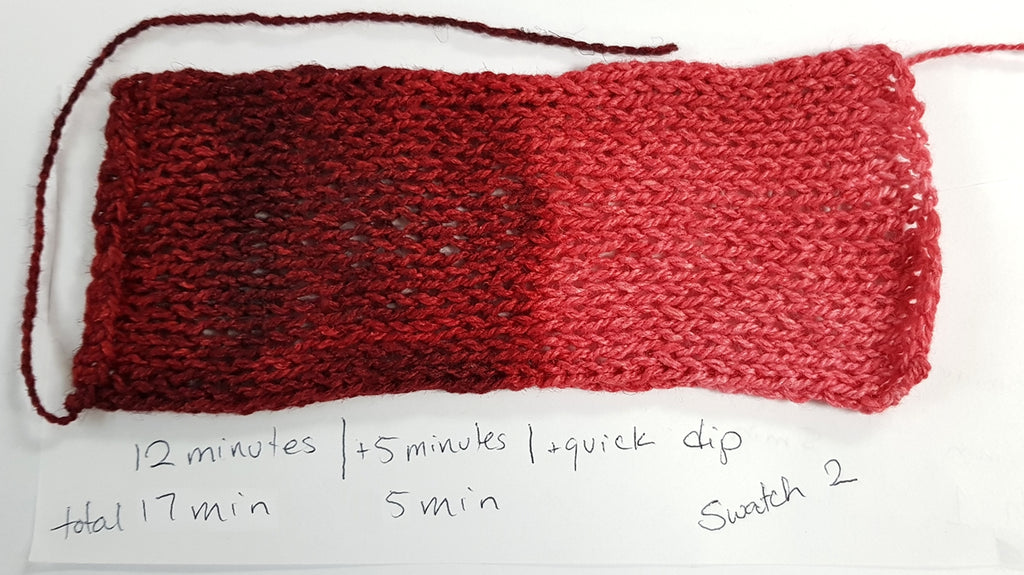
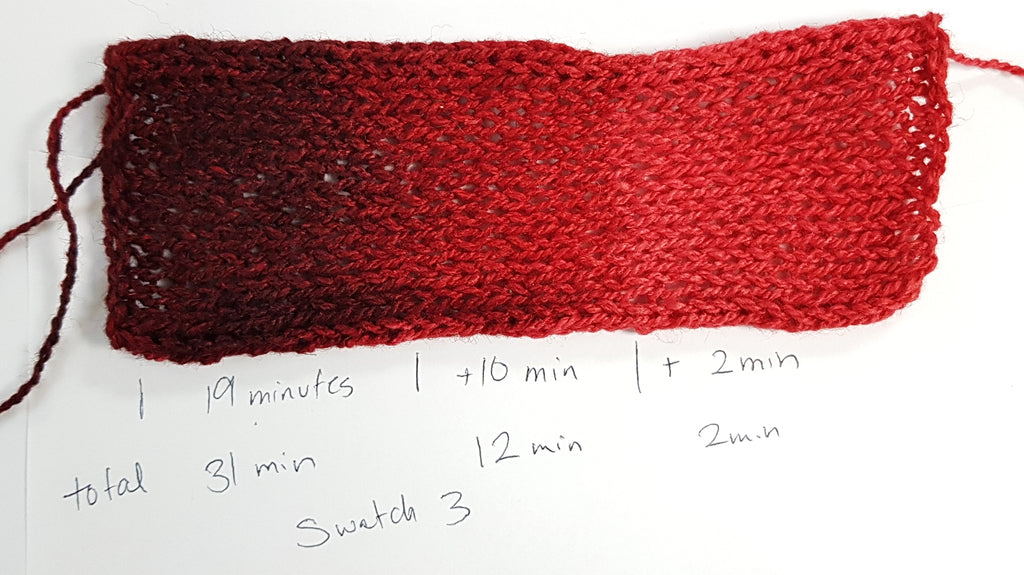
The main method was to submerge 1/3 of the swatch in the dye for a certain amount of time, then move it in deeper until 2/3rds were submerged, and then submerge the whole thing for a set period of time. I did 3 tests to work out how long to keep each section of the sweater submerged to achieve a smooth gradient change.
|
I decided on slowly submerging the sweater rather than putting the whole thing in initially and slowly taking it out because I didn't want to be dripping red dye all over my table and the item does get very hot so it would be hard to handle.
|
Test 1
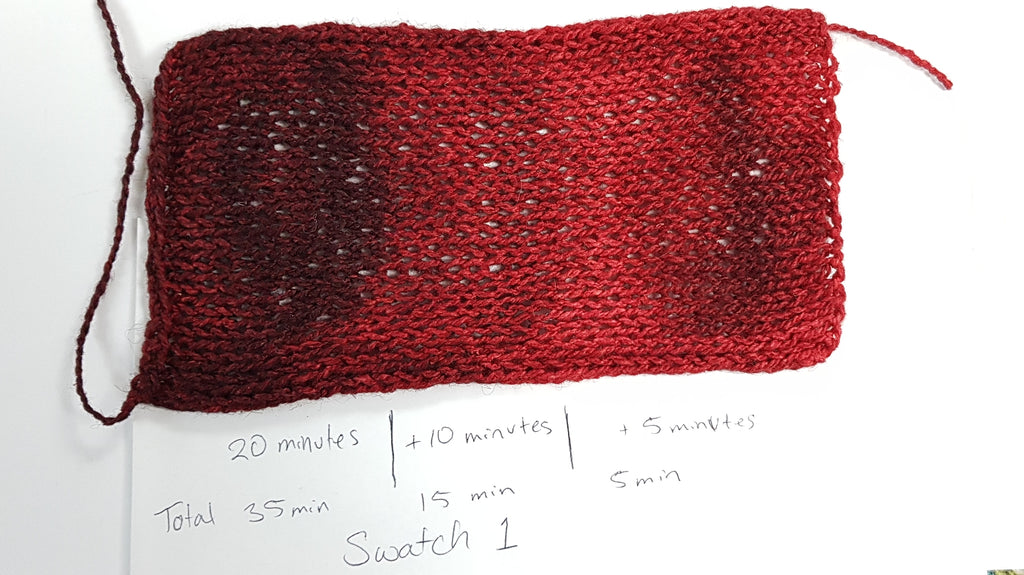
Test 2
Test 3
The Moment of Truth
Finally I was ready to do my sweater. I refreshed my water vinegar mixture and added 2 tsp of dye because I was dyeing so much more yarn than just the swatches. I followed the same method and timing as Swatch 3.
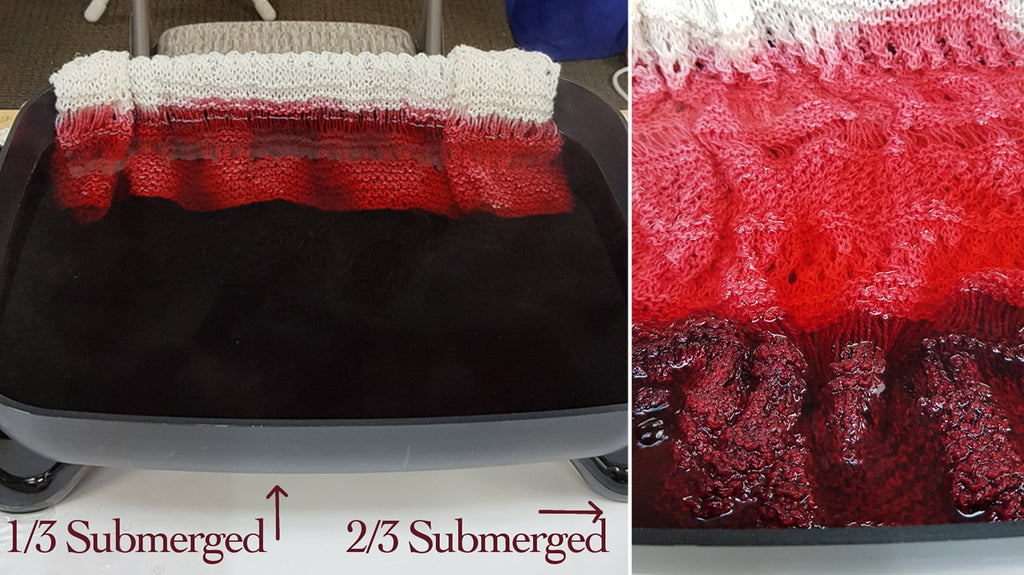
The interesting thing that happened, which I had forgotten about was that the dye attracts to the fiber with the heat and vinegar. Which meant that as I was submerging the final 3rd of the garment there was plenty of water but it looked mostly clear, so I was a bit concerned that the top section wasn't going to get dyed at all and was going to end up too light. But I stuck to my test timing and that yarn soaked up every last particle of dye. Once I was finished and poured out the pot, the water was totally clear!
Just for good measure, once I pulled the sweater out, while it was still wet, I put it in a ziploc bag, and left the seal open just a bit and put it in the microwave for 3 minutes to ensure all the dye really did set. Then I rinsed and blocked it, and Voila!
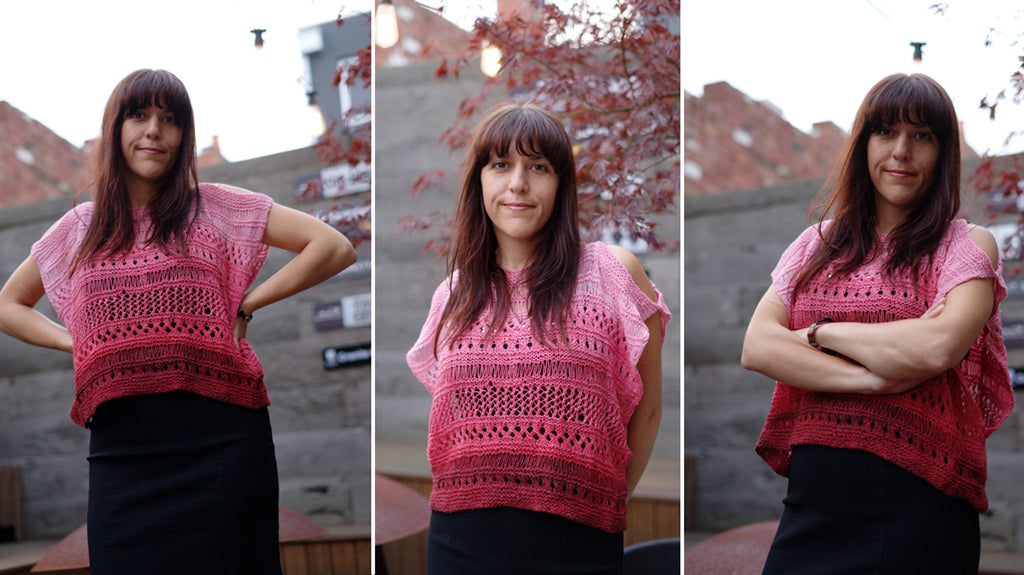
The fun thing about this method is you can do it with any garment, you don't have to knit it yourself. It can be a cheapo sweater from Kmart, old jeans from the back of your closet, or a hand-me-down tee shirt. You can use the hot plate and gradual submersion method on anything.
You will want to check what kind of dye you're using and what fibers you're dyeing. For example Jacquard Acid Dyes work on animal fibers, so any wool, silk, feathers, etc with take the dye but not cotton or acrylic blends. For Acrylics use RIT Synthetic dyes, for cotton, rayon or linen use RIT All Purpose dyes (just add salt to your water instead of vingear). I would still steer clear of reds when choosing RIT.

