How to Bind Off on a Knitting Loom
|
Find Your New Favorite Loom
|
Try New Techniques with Our Patterns
|
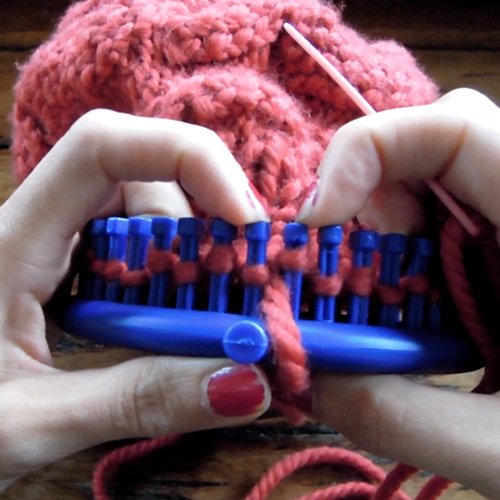
Today we're going to talk about how to bind off on your knitting loom. I'll walk you through how to do a basic bind off, and then I'll show you the steps for a stretchy bind off and explain it three different ways.
When you do your bind off you can either work your last row and then come back to do the bind off, or work your last row and bind off as you move across (which is what the diagrams show below). The advantage to this is that you can adjust your tension as you go so you don't end up with a super tight or loose bind off.
Basic Bind off on Knitting Loom
Work your first two stitches as normal.
Move the loop from peg 2 to peg 1.
Pull the bottom loop over the top loop and the peg.
Move your new loop back from Peg 1 to Peg 2.
Repeat....
Work your third stitch as normal.
Move the loop from peg 3 to peg 2.
Pull the bottom loop over the top loop and the peg.
Move your new loop back from Peg 2 to Peg 3.
Continue in this way until you have bound off all the required stitches.

How to do a stretchy Bind off on a knitting loom
This is a great bind off for anything that needs to be able to stretch the circumference of the loom. So, hats, wrist warmers, socks, legwarmers, this is what you'll want to use, it's quite rhythmic once you get the hang of it, and I'll explain it in three different ways, but they are all the same action, so hopefully one of these explanations will click for you. At the very bottom there is also a video so you can see this in action.
Before you begin, wrap your yarn around your loom three times and give yourself an extra 6” or so. Cut your yarn and thread it onto a yarn needle.
Explanation 1
Bring your yarn forward to the left of the stitch you just finished. We will be working on the two pegs to the right and left of your yarn, and this is how we will refer to them. Bring your needle down through the loop on the Left Peg, and up through the loop on the Right Peg. Pull it snug.
*Now we move everything over by 1 peg, so the left peg becomes the right peg and a new peg becomes the left peg. Run your yarn around the back of Right peg, down the front side of the loop in Left Peg, and up the loop in Right Peg.
Repeat from * all the way around until you are back to the two loops you started on, making sure that that very first Right Peg, becomes the Left Peg of your last set. Then just tie off your yarn.

Explanation 2
Bring your yarn forward to the left of the stitch you just finished. Working towards the left around the loom thread your yarn down through the loop on the next peg, then go back one peg and thread it up through the loop.
*Bring your yarn behind the next peg, and thread it down through the loop on the next next peg. Then go back a peg and thread it up through the loop. Repeat from * until your find yourself threading your yarn down through the first loop where you had gone up.

Explanation 3
Bring your yarn forward to the left of the stitch you just finished. Working across three pegs labeled 3, 2 and 1 from right to left. Your last stitch you just finished is peg 3 and the first stitch (of the next row) is peg 2, your yarn will sit between peg 2 and 3.
Thread your yarn down through the loop on Peg 2, and up through the loop on Peg 3. *Then bring your yarn behind Peg 2, and thread it down the loop on Peg 1, and up the loop on Peg 2.
Move everything over to the left by one peg. So a new peg becomes Peg 1, Peg 1 becomes Peg 2, and Peg 2 becomes Peg 3. Repeat from * until your first Peg 3 becomes Peg 1 and you thread your yarn down Peg 1 and up Peg 2, then you can tie off.

|
Find Your New Favorite Loom
|
Try New Techniques with Our Patterns
|


