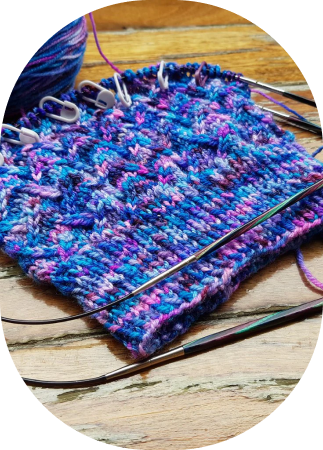
How to Cast on a Knitting Loom
Try New Techniques with Our Patterns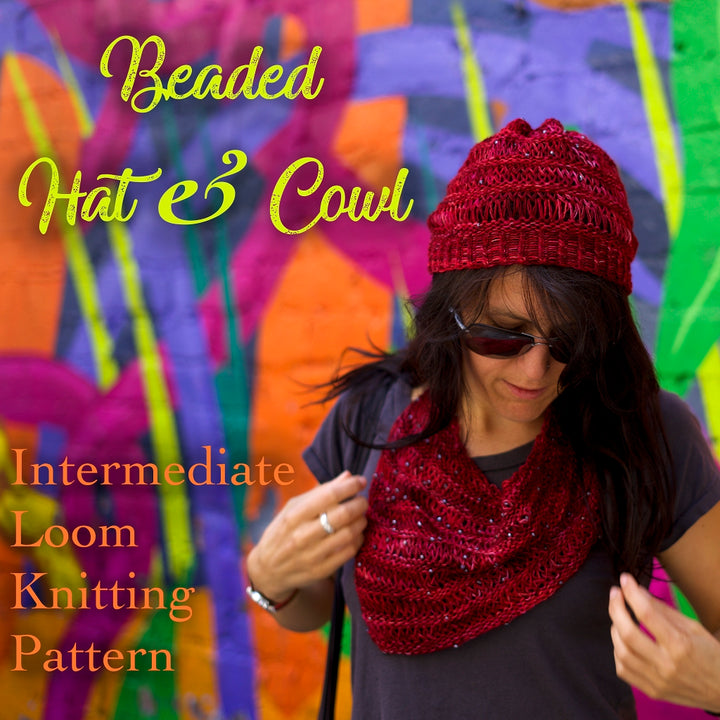
|
I've been wanting to do these tutorials for awhile, but between actually designing and making all my projects it's been difficult to find the time. So I hope you enjoy this long awaited post. Here we will cover:
- How to cast on your knitting loom using the E-wrap method
- How to create a Twisted Knit Stitch
- How to Purl on a knitting loom
- How to work back and forth on a round loom
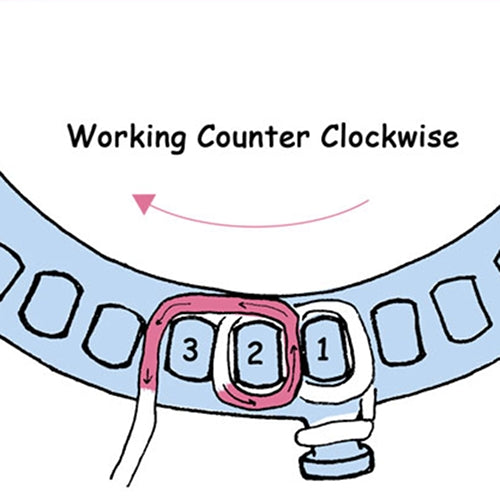
I personally like to work counter clockwise around my knitting loom, whether I'm knitting a flat panel or working all the way around. I'm right handed and feel more comfortable holding the hook tool with my right hand and the yarn in my left hand. If you are left handed you may want to work counter clockwise.
Advantages of Removable Pegs
Use your different colored pegs if its appropriate to your pattern. For example, if my pattern repeat is a K2, P2 Rib, then I would set up my loom with a 2 pink peg, and 2 blue peg pattern repeat. It will make it easier to keep track of my pattern because I would know that all pink pegs are knit stitches and all blue pegs are purl stitches.
E-wrap Your First Round
Tie a knot or slip knot, whatever works for you, around the knob on the outside of your loom to fasten it.
Step 1) Starting on the peg directly behind the knob call that Peg 1, run the yarn up the right side of the peg, along the back of the peg, and then forward along the left side of the peg.
Step 2) Continue and carry the yarn along the front of Peg 1, and again along the right side of Peg 1 toward the back. Then carry that yarn along the back side of Peg 1 and Peg 2 (the peg to the left of Peg 1), and along the left side of Peg 2 towards the front.
Step 3) Continue and carry the yarn along the front of Peg 2, and again along the right side of Peg 2 toward the back. Then carry that yarn along the back side of Peg 2 and Peg 3 (the peg to the left of Peg 2), and along the left side of Peg 3 towards the front.

Here's what it looks like from the front.

Continue in that way all the way around the loom.
Knitting your First Row
If you are knitting your first row, when you get back to Peg 1, you will make a round of E-wraps again, doing exactly the same thing, so that you have 2 wraps, one above the other on each peg.

To Knit your first row
Once you have two rounds of loops wrapped around your pegs, take your hook tool and pluck the bottom loop up and over the top loop and over the peg, letting it rest behind.

Continue in that fashion all the way around the loom until you get back to your first peg. If you're continuing in Knit Stitch then simply work your way around the loom again doing a round of wrapping and then a round of knitting.
To Purl your first row
You'll do that initial E-wrap around all your pegs, but when you get back to Peg 1, instead of E-wrapping a second time, you will begin purling.

Step 1) Hold your working yarn in front of Peg 1 and below your E-wrap loop. (Fig. 2)
Step 2) Insert your hook tool in the groove behind your loop and position it in front of your working yarn (Fig. 3)
Step 3) Grab your working yarn with your hook tool and twist the point of it towards the peg into the groove and pull it up between your loop and peg. (Fig. 4)
Step 4) Now you have a new loop. (Fig. 5)
Step 5) Use your fingers, or a combination of hook tool and fingers to lift your original loop off the peg (and put it behind), and position your new loop down around the peg. (Fig. 6 & 7)

Knitting a Flat Panel on a Round Loom
Before you begin, make sure you have the correct number of pegs inserted. For example when I'm only making a flat panel, I like to take out all excess pegs that I won't be using to ensure that I don't accidentally go all the way around (this is especially likely to happen if you're using all the pegs on the loom) I make sure that I limit my project to using 1 peg less than the total number of pegs available. For example our Baby Hat Circular Loom has 44 pegs- I wouldn't use it for a project that requires more than 43 pegs if I were only working it back and forth.
When following my knitting loom patterns - if it's a flat panel I indicate in the margins which direction you should be working the row, so it is important that you do your first wrap counterclockwise to save confusion.
If you're purling- you should have the yarn behind the peg as the finishing point of your last stitch, simply bring that yarn around to the front of the peg carrying it around the outside edge of the work and purl as normal. So if you just finished a row going from left to right, and now you need to go back right to left, carry the yarn around the right edge of that last peg.
If you're knitting- follow the same steps as above, bringing that yarn around the front of that first peg, then bring it behind the second peg and do your e-wrap. Almost like a figure 8 but you don't bring it back to the first peg. Then you're ready to e-wrap across your row.

Here's a video demonstrating this stitch and working a piece back and forth.
|
Find Your New Favorite Loom
 |
Try New Techniques with Our Patterns
|