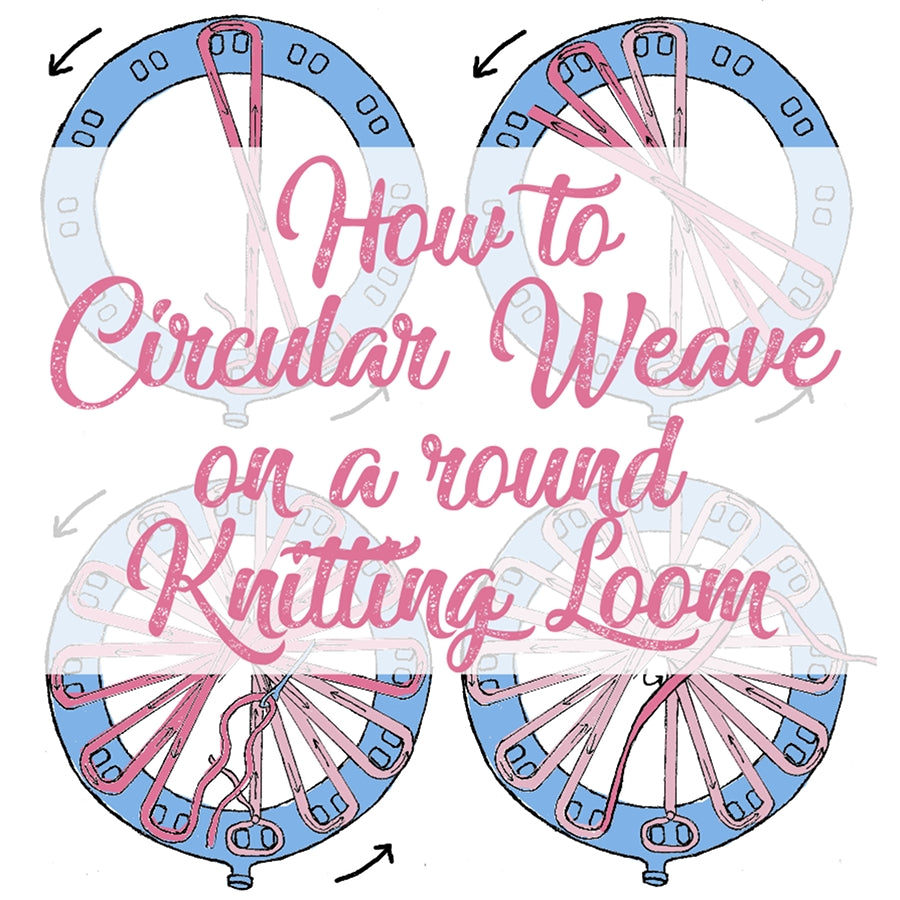
How to Circular Weave on a Round Knitting Loom
There are so many awesome things you can do with your knitting loom- today we're going to talk about how to make a circular weaving that you can hang on your wall like a dream catcher.
You Will Need:
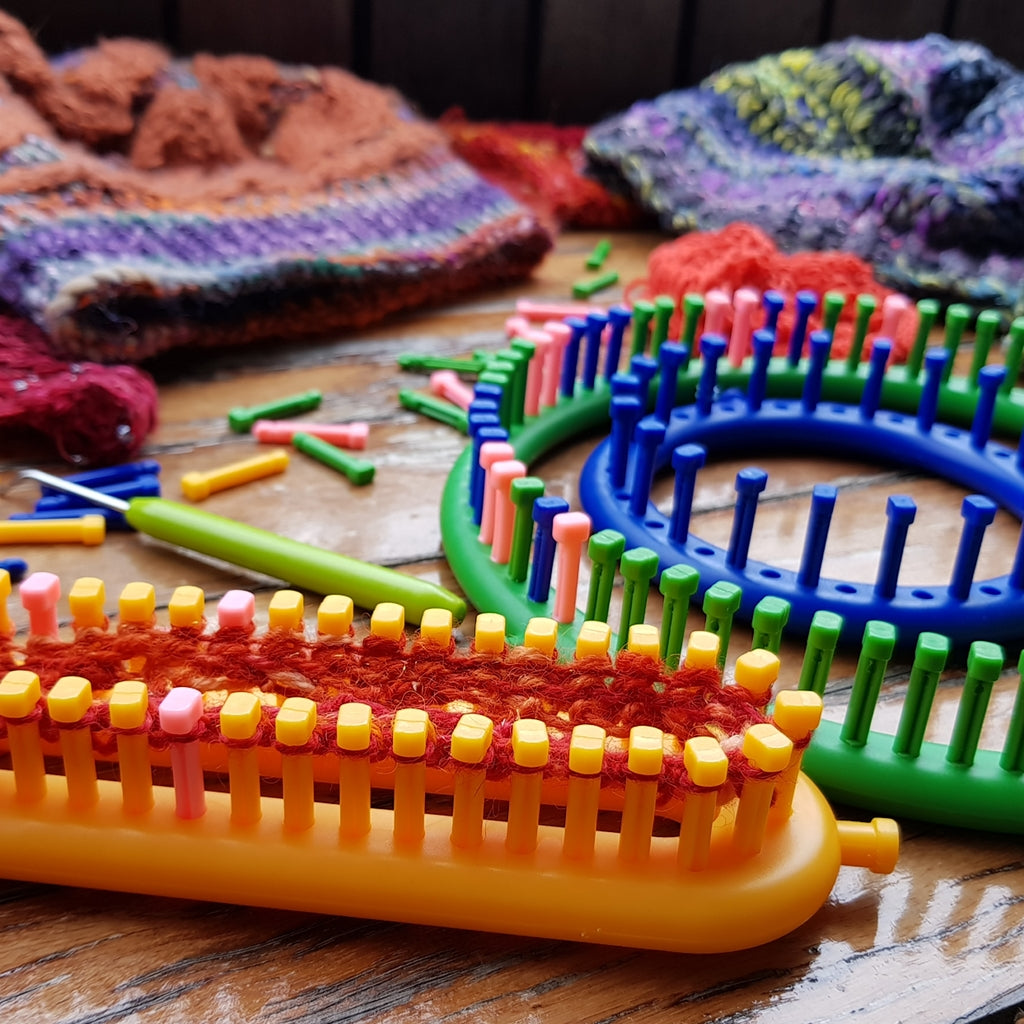
Round Knitting Loom with hook tool -I like to play with all the different sizes
Darning or Tapestry Needle
A metal Macrame Ring or Wooden Embroidery Hoop- This will hold your final weaving so it should be at least big enough to fit around the outside of your knitting loom.
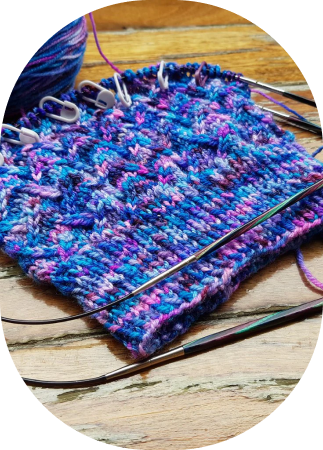
Yarn! - A thin sturdy sock yarn for warping, and the rest is up to you, find some fun colors and textures that go together
Add Beads or Buttons as well!
First thing you'll want to do is warp your loom. The trick to this is ensuring its tight, and that there are an odd number of warp threads. For the warp threads I recommend choosing a sock yarn- you want something thin and sturdy. Once you've made a couple weavings – try adding beads to your warp threads!
Setting up your loom
This tutorial is based on our Green Adult Hat Loom and we set it up so that there's 2 pegs in and 2 pegs out to create an even spacing of the warp threads and not too many of them. If you leave every peg in an wrap around each one, you'd end up with a ton of warp threads. If you don't have enough warp threads your weaving may not have enough structure to hold itself together.
Have a play with your loom and find the peg configuration that gives you the most even distribution and not too many or too few warps.
Warping your Loom

Step 1: Tie a knot around the two pegs nearest the outer knob on your loom. You can tie a slip knot or a regular knot, just make sure it's tight. Pull your yarn to the set of two pegs on the opposite side of the loom (bringing them along the right side, around the back, and then down along the left side towards the middle- and across). Wrap the yarn around the two pegs to the right of where you tied on your yarn (wrapping along the left side, around the back, and along the right side towards the middle).
Step 2: Continue like this working anti clockwise around the loom, until all pegs have been wrapped.
Step 3: Once all the pegs have been wrapped, keeping the tension as best you can, snip your yarn end, giving you about 10 inches of working room and thread a needle on to it. Bring your yarn and needle over the center where all the threads overlap.

Step 4: Find a place as directly opposite as you can and bring the needle through the warp threads and to the back. Then bring it back to the front up along the left side of your working warp thread. So now you have a vertical wrap around your warps, take this opportunity to center your crossover, or pull it off-center if you like.
Step 5: Do the same process but instead of making a vertical loop around we will be creating a horizontal loop so that our two loops form a cross. So send your needle to the back sliding it between warp threads roughly even, to the right side of your knot. Then bring your needle forward on the left side of your knot.
Step 6: We need to tie our knot on the back of our weaving so send your needle to the back threading it around the right side of the knot.
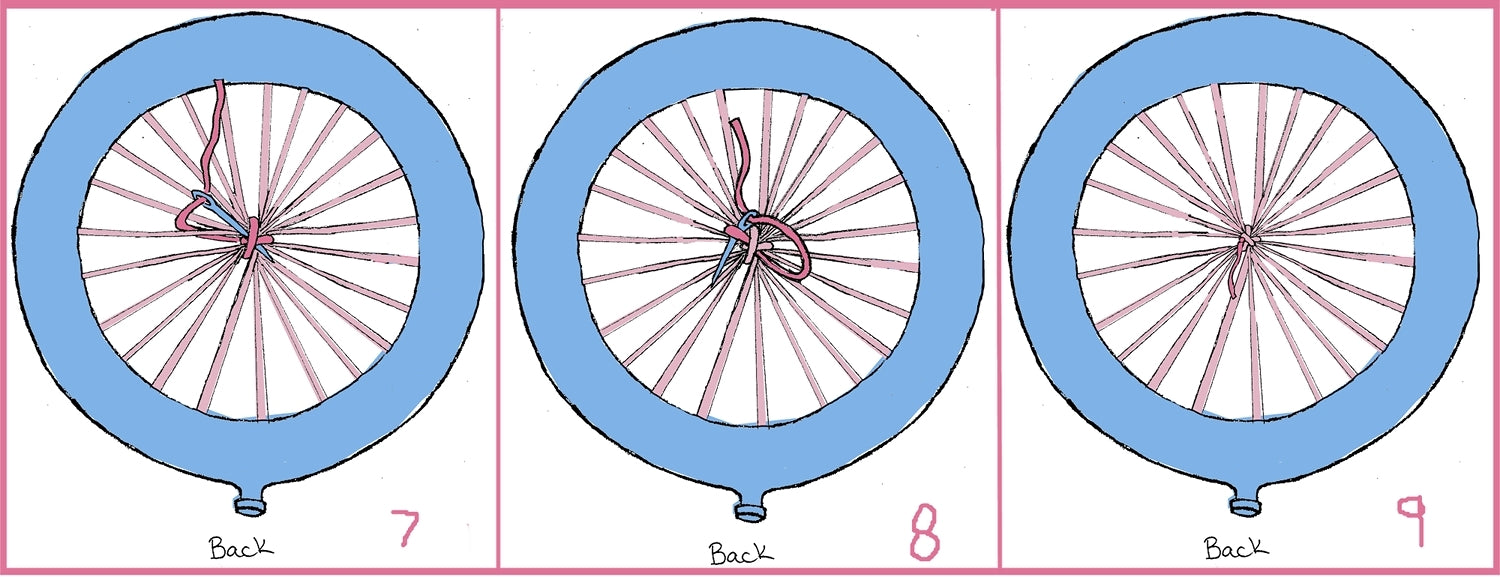
Step 7: Push your needle underneath your two crossed threads, pull the needle through but don't pull the thread tight.
Step 8: Bring your needle back through that loop your created.
Step 9: Pull everything snug, and continue to tie more knots for added sturdiness.
Let's Begin Weaving
Grab a section of yarn about a yard or a wingspan in length- too long and it becomes difficult to manage, you can always add more later. Thread it onto a needle.
To begin any weave pattern you'll want to start by bringing the thread from the rear to the front, letting the yarn end dangle at the back of your weaving. And any time you change yarns you'll want to have your ends coming out of the back of your weaving.
I like to let my ends dangle and only tie my ends together and trim them after I've done a few weaving rounds so they are set in their position and I don't end up pulling them in weird directions by tieing them too early.
Hint: Use your needle to weave near to the outer edge of your weaving, then pull it snugly towards the center, you can even use your needle or hook tool to push them right up against the center. Working around the outer edge initially gives you more space to get your needle over and under the warp threads, and helps you to more clearly see the order of the warp threads.
As your weaving gets bigger you don't want to pull the threads too tight, or else you'll start to bunch them up and condense them down towards the middle. Try to let them lay flat.
Hint: When you're pulling your yarn through your warp threads- hold the loom nearly upside down (you don't have to hold it above your head) so that as you pull your yarn through it doesn't get caught on your pegs.
Weave Patterns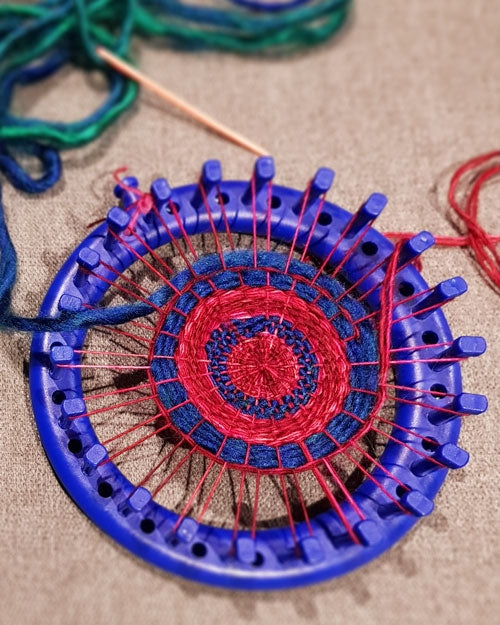
Plain Basket Weave: This is a super simple pattern and great for working in the center- it evens out your warp threads and gets them all laying in the right order. Simply follow an Over 1-Under 1 pattern repeat, an odd number of warps will ensure the pattern alternates with each round.
Circular Twill: Simply weaver Over 2-Under 1, repeating that all the way around, this pattern helps to hide your warp threads and if you are using a plain yarn and repeating for a larger block, it will create a circular spiral pattern, as the odd number of warp threads offsets the pattern by 1 each round.
Soumak Braid: This weave doesn't require a yarn needle. It's great for large bulky yarns and covering a lot of ground in your weaving, you can change it up by passing over 2 or 3 warp threads, or passing under 1 or 2 warp threads to play with the length and size of the braid. Check out this YouTube video for how to.
Mix and match your different weave patterns, play with your different yarns, get creative!
Putting your weaving on a hoop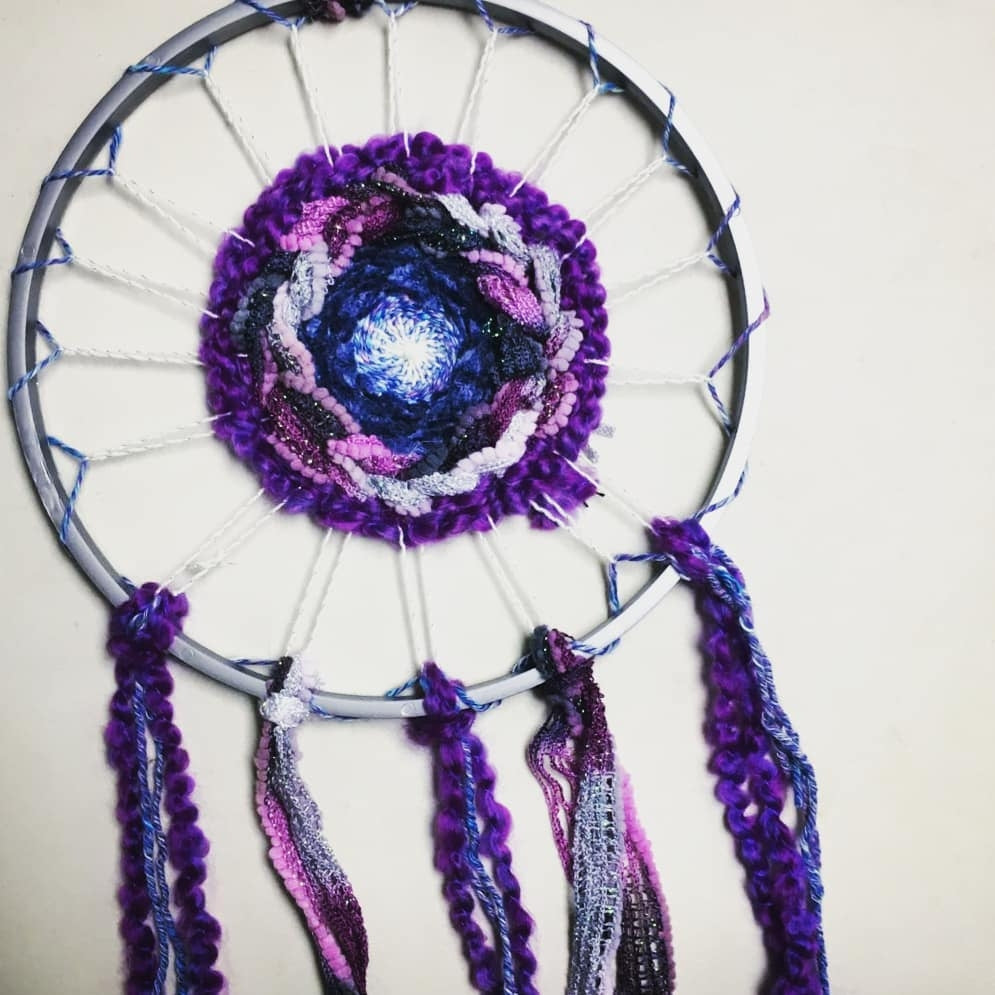
Place your loom on the table and set your metal ring down so that it sits around the outside of your loom. Slide the whole thing towards you off the edge of the table a bit, so you can get underneath and around the ring.
Using a sturdy yarn, tie one end to the starting warp loop between the two green pegs. Thread the other end of the yarn on a needle and pass it around the metal ring. Work your way around, passing the needle in the loops between the green pegs and then wrapping it around the metal ring. Keep a decent tension on it, and try to keep it roughly centered.
Once you get back to your starting point- don't tie off your yarn. Use your hook tool to pull all the warp threads off the loom and then simply grab the metal ring and the end of your yarn and lift it up, leaving the loom on the table.
Work your way around the loom snugging up the tension, centering (or off-centering your weaving within the ring). You may need to repeat this process 2 or 3 times to get it how you want it. Tie off.
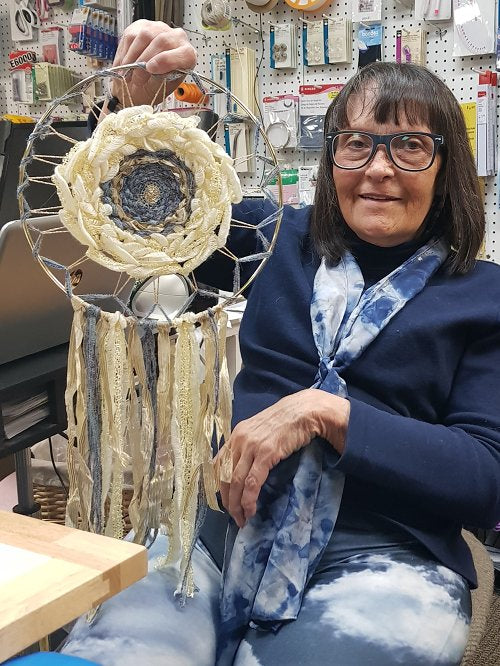
Add fringe, beads, buttons, and whatever decorations you like!
Using these weavings as coasters or placemats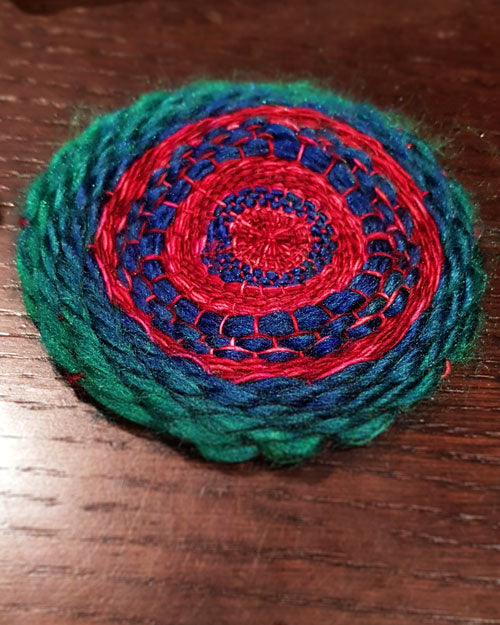
Another thing you can do with these weavings is use them as coasters or placemats- you want to weave it so that the weave goes all the way out to the edge. The more rounds you weave and fit in the sturdier it will be.
Then simply use your hook tool to pluck the warp loops off the loom. If you find that your weaving loosens up, you can snip into the warp loop and tie it so that it tightens down into the weaving, and hide the knot. Then for structure and sturdiness we recommend cutting a circle of felt just smaller than your weaving and glueing it to the back- this hides all the ends and tidies everything up.
For a placemat we recommend the Adult Round Hat Loom
For coasters use the Blue Baby Hat Loom
We'd love to see how all your weavings come out- you can share them with us on instagram @yarndesignersboutique
|
Find Your New Favorite Loom
 |
Try New Techniques with Our Patterns
|