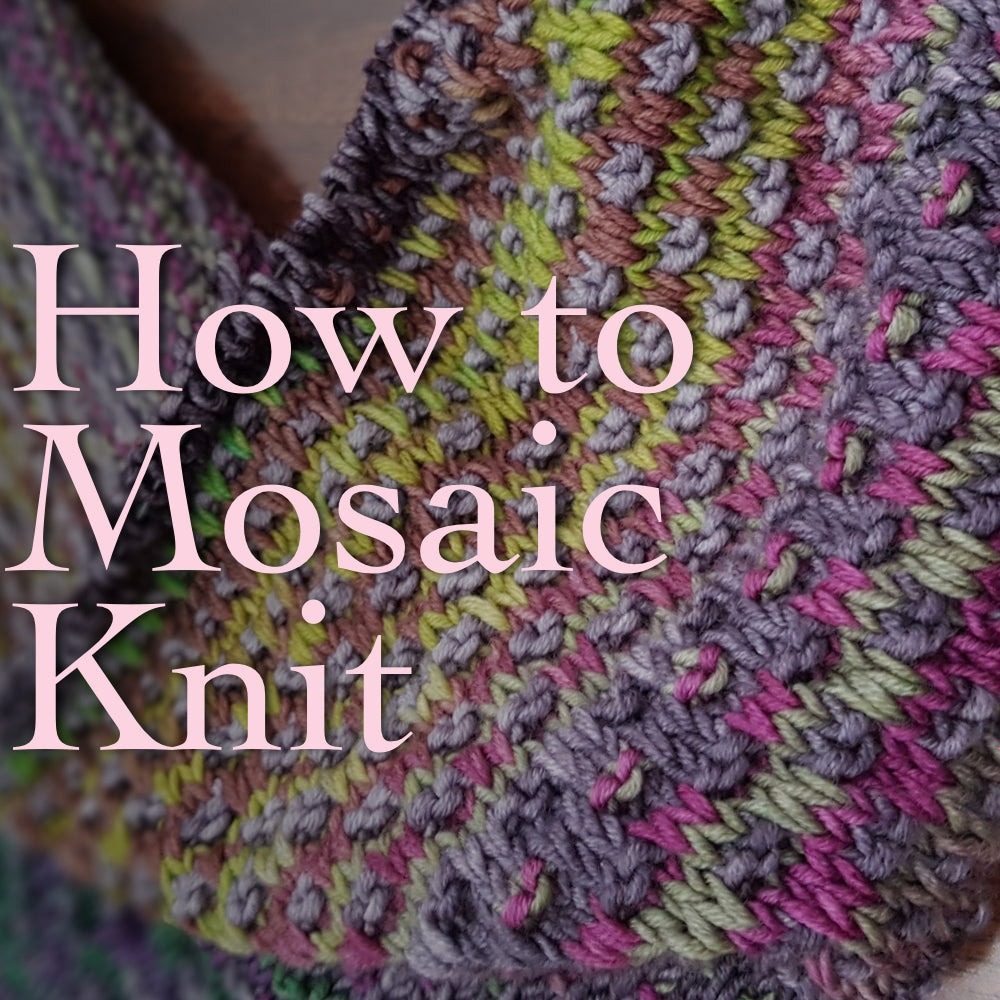
Mosaic Knitting - Different Pattern Options
If you've never done any mosaic knitting this simple tutorial will get you started.
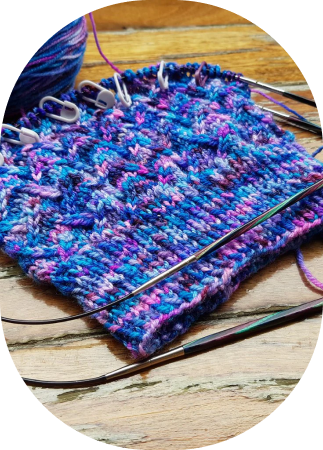
I am currently knitting Andrea Mowry's Nightshift Shawl which features, i-cord edging, mosaic knitting and subtle color shifts. The pattern is written very clearly so, even if you've never done i-cord edges or mosaic knitting you can knit this shawl.

But what if you don't want to work this shawl but you like the look and feel of mosaic knitting. In this blog post I will show your how to mosaic knit in a few different ways so you can incorporate this stitch pattern into any project.
The Basic Overview
Mosaic knitting is done in two colors, The main color will always be worked in stockinette stitch, and you will need about twice as much yardage of the main color as the accent color.
The accent color will always be the one slipped, and knitted to create the mosaic effect. On the right side you will follow a pattern of knitting and slipping, and on the wrong side you will work back knitting in the same stitches and slipping the same stitches
1x1 Mosaic In-Line
Main Color
Row 1 (RS): Knit Across
Row 2 (WS): Purl Across
Accent Color
Row 3 (RS): *K1, Sl1wyib Repeat from * to End
Row 4 (WS): *Sl1wyif, K1 Repeat from * to End
Repeat rows 1-4 and your mosaic bumps will line up on top of eachother.

1x1 Mosaic Offset
Main Color
Row 1 (RS): Knit Across
Row 2 (WS): Purl Across
Accent Color
Row 3 (RS): *K1, Sl1wyib Repeat from * to End
Row 4 (WS): *Sl1wyif, K1 Repeat from * to End
Main Color
Row 5 (RS): Knit Across
Row 6 (WS): Purl Across
Accent Color
Row 7 (RS): *Sl1wyib, K1 Repeat from * to End
Row 8 (WS): *K1, Sl1wyif Repeat from * to End
Repeat rows 1-8 and your mosaic bumps will be offset from the row below.

2x2 Mosaic In-Line
Main Color
Row 1 (RS): Knit Across
Row 2 (WS): Purl Across
Accent Color
Row 3 (RS): *K2, Sl2wyib Repeat from * to End
Row 4 (WS): *Sl2wyif, K2 Repeat from * to End
Repeat rows 1-4 and your mosaic bumps will line up on top of each other.

2x2 Mosaic Offset
Main Color
Row 1 (RS): Knit Across
Row 2 (WS): Purl Across
Accent Color
Row 3 (RS): *K2, Sl2wyib Repeat from * to End
Row 4 (WS): *Sl2wyif, K2 Repeat from * to End
Main Color
Row 5 (RS): Knit Across
Row 6 (WS): Purl Across
Accent Color
Row 7 (RS): *Sl2wyib, K2 Repeat from * to End
Row 8 (WS): *K2, Sl2wyif Repeat from * to End
Repeat rows 1-8 and your mosaic bumps will be offset from the row below.

I wouldn't recommend spacing your mosaic bumps out any farther than two stitches apart, you can end up with quite long bits of loose yarn at the back that will be easy for you to snag on.
But I certainly recommend experimenting with different size bumps and offsets, knitting 3 and slipping 1 for example could get some interesting spiral effects if you offset each row by 1 stitch.
Check out the video below to see mosaic knitting in action. (If you like the needles I'm using in the video you can find them here.)
Happy Knitting!