How to Finish a Hat on a Knitting Loom
|
Find Your New Favorite Loom

|
Try New Techniques with Our Patterns 
|
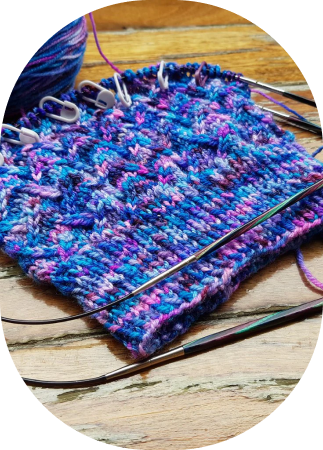
Because the knitting loom is of a standard circumference, when we knit a hat on it, they tend not to have decreases and we end up with a tube. I'm going to show you how to finish off your hat so that it sits nicely at the top seam.
You may have received instructions with your hat loom to simply use your yarn, and darning needle and thread it through the loop on every peg, hook it off the loom, and pull tight. That's certainly one way to do it, it won't lay as nicely, and the heavier the yarn weight (like worsted for example) the less tightly you'll be able to pull that yarn, and you could actually end up with a hole in the top of your hat.
Skip to binding off a hat in Bulky Weight Yarn
Worsted Weight or Finer Yarn
For this method you'll want to be knitting your hat from the bottom to top, and to have finished your last row.
- Wrap your working yarn around the loom 2 times and give it an extra 6-10 inches, cut yarn, and thread the end onto a yarn needle.
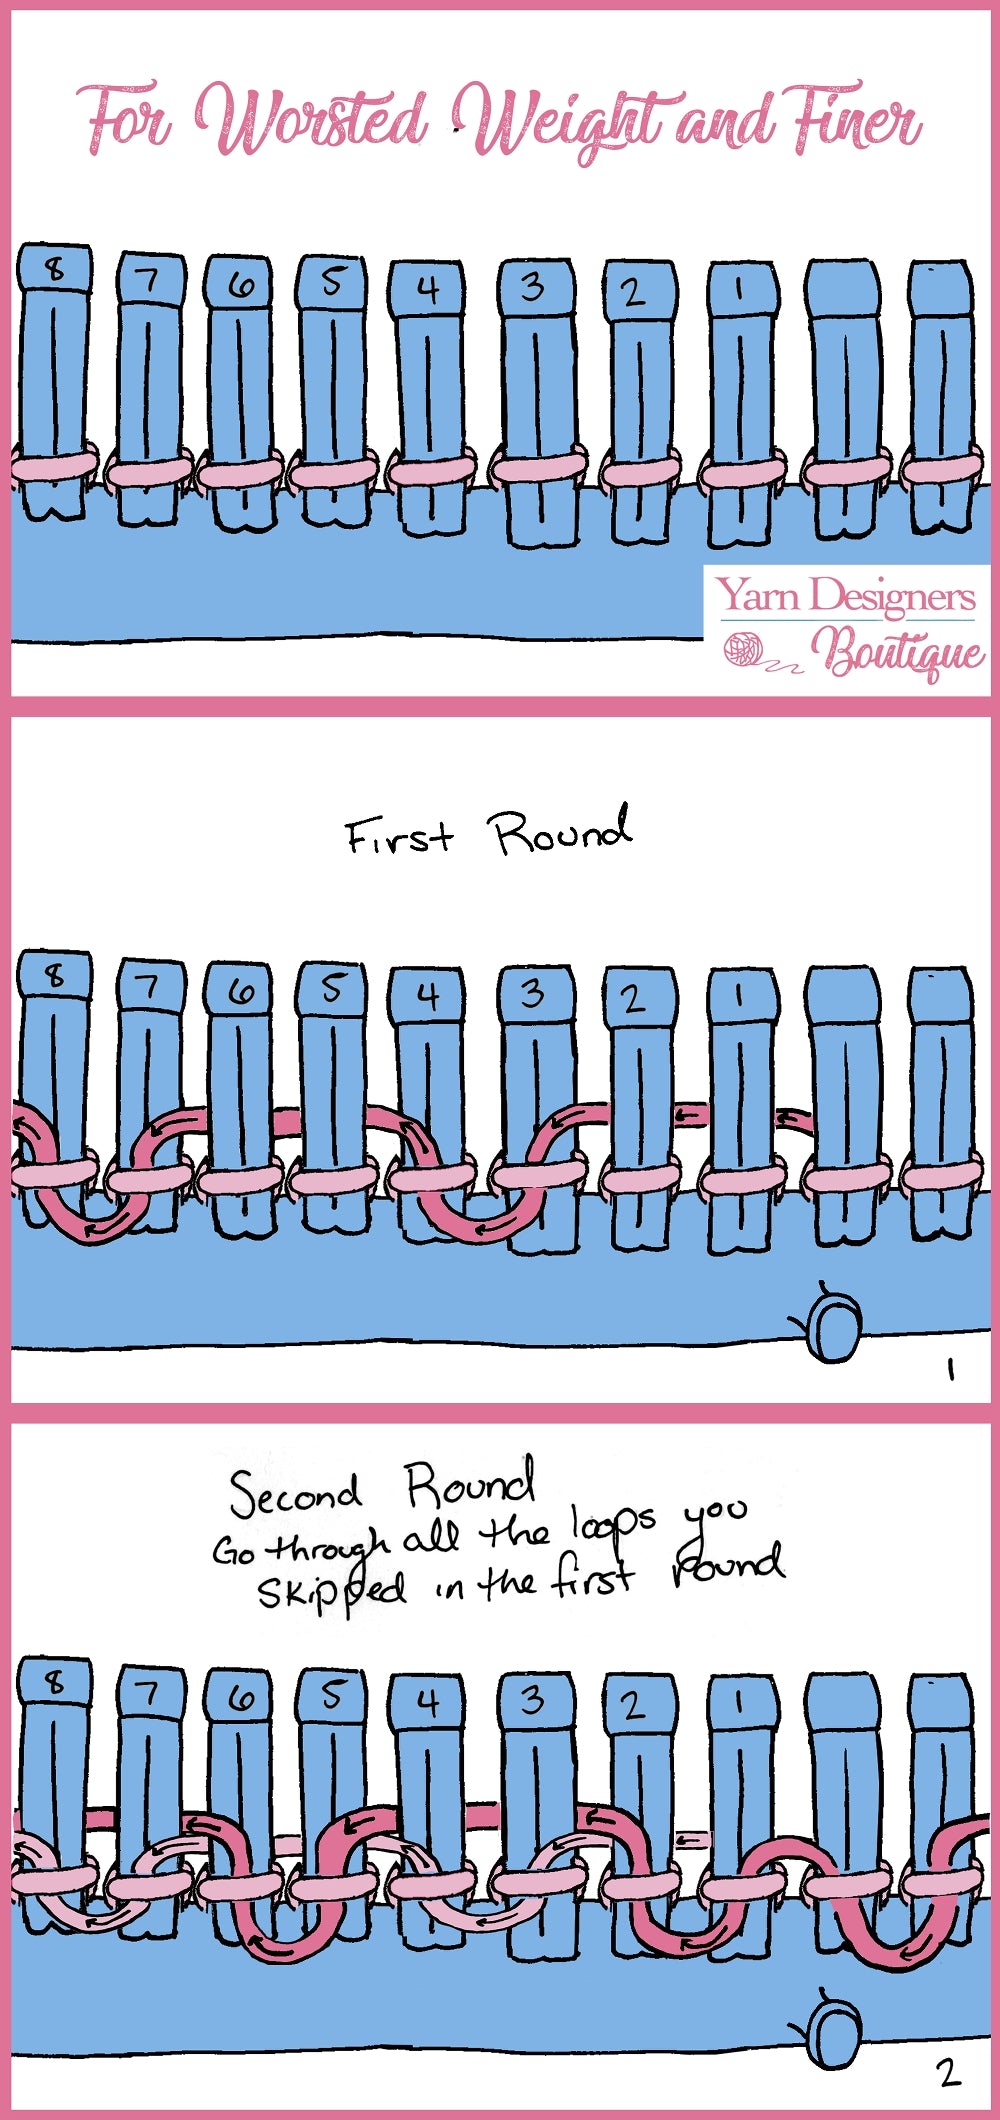
- Working the same direction as you've been knitting, carry the yarn behind the first two pegs (Pegs 1 & 2).
- For the following two pegs (Pegs 3 & 4), thread the yarn through the two loops on the pegs.
- *Carry the yarn behind the next two pegs (Pegs 5 & 6), thread your yarn through the loops on the next two pegs (Pegs 7 & 8). Repeat from * until you have arrived back at your starting point.
On the second pass around you will thread through the 2 pegs that you didn't on the first pass around (Pegs 1 & 2), and pass the yarn behind the 2 pegs that you went through in the first pass (Pegs 3 & 4). So that by the end of the second round- every loop will have the yarn passed through it.
Use your hook tool to remove all your loops off their peg.
Working with the hat inside out, pull your yarn end tight and even, you can place your finger in the center to keep it nice and even. As it gets smaller pull your finger out so you don't have a hole. Tie off, and snip your yarn end.
Turn your hat right side out and it should look awesome.
By making two passes around the loom we create a little spiral, so as you pull the yarn tight, half the stitches are pulled above and half the stitches are pulled below.
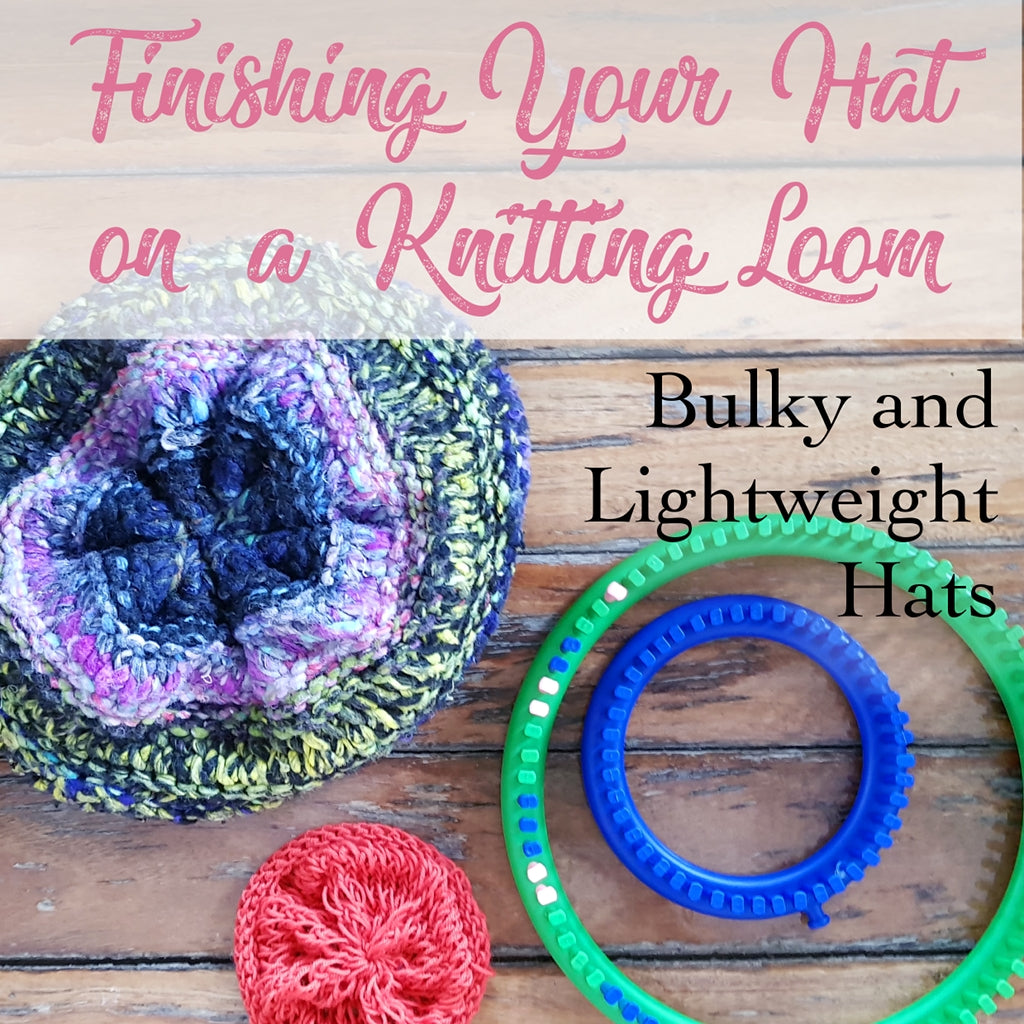
The bulky weight yarns are too thick for the above method so we will need to sew them up at the top. You can use the bulky yarn you made your hat in if it's strong enough, or use sewing thread in a matching color for less added bulk.
Working from the bottom of the hat up, you'll want to work your last row doing a basic bind off as you go.
You should just be left with a tube, turn your hat inside out.
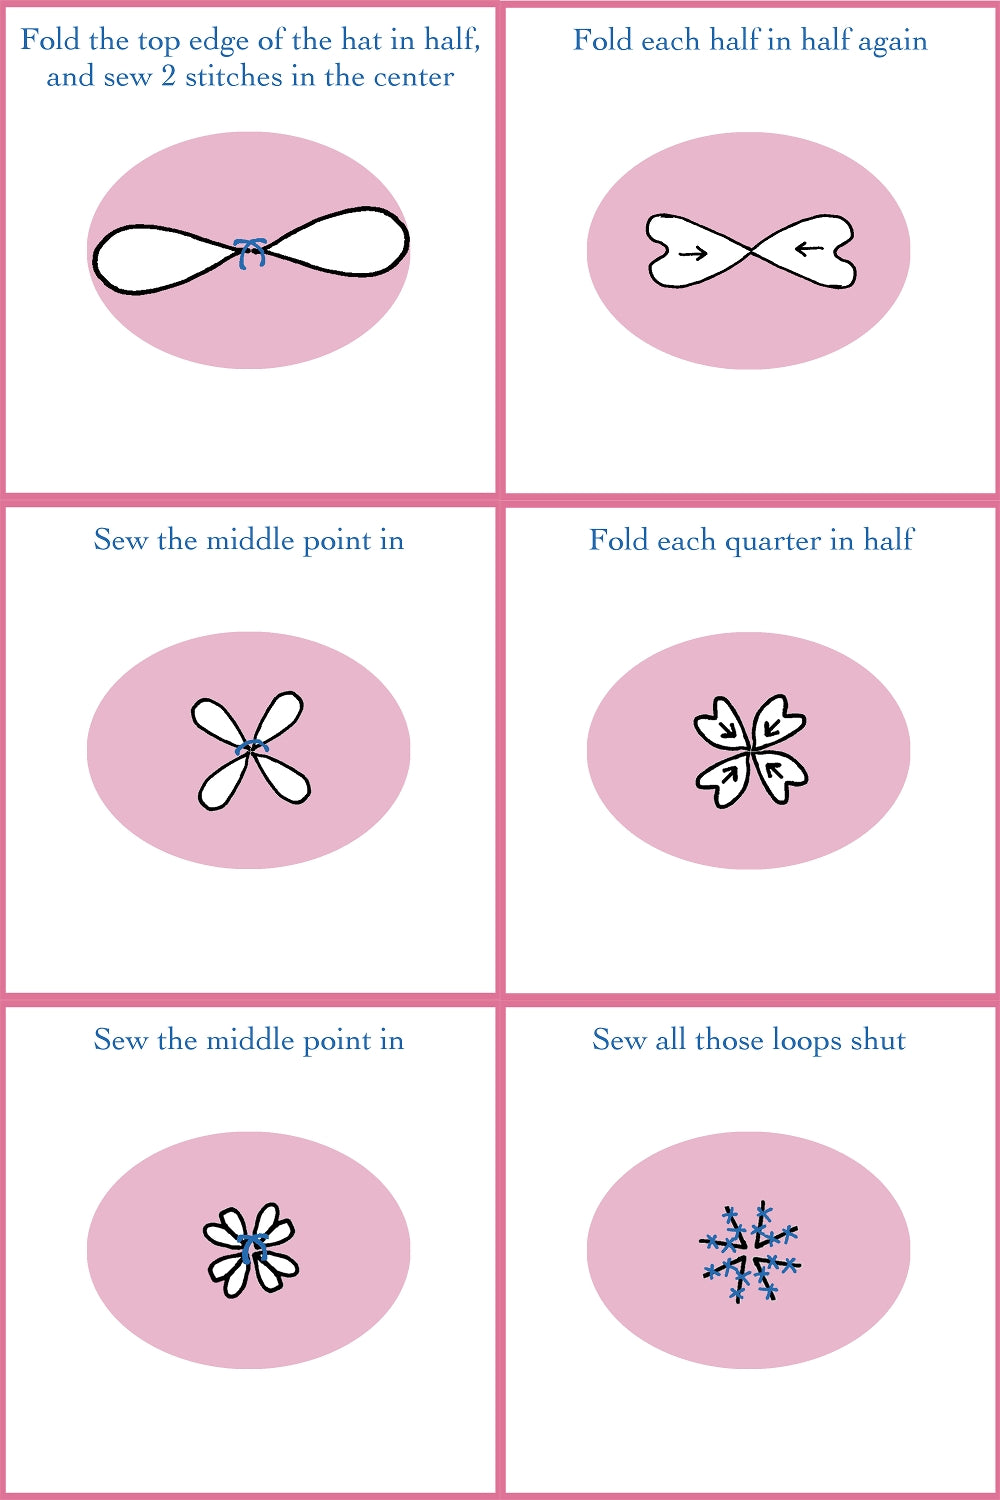
- Fold the top edges of your hat together and sew 2 stitches right in the center, don't try to make it wide, just make an X.
- Working one half at a time, fold each half in half again, pulling the middle point of the half back towards the center you sewed.
- Sew those two center points in.
- Working one quarter at a time, fold each quarter in half again, pulling the middle point of the quarter back towards the center you sewed.
- Sew those four center points in.
- You should have 8 little loops now, like a flower. Sew those loops shut so they form a line and there's no holes in your hat. Tie off and turn right side out!
Here's an in depth video demonstrating both of these hat finishing techniques (for the bulky technique jump to 6:45 minutes):
If you love those travel scissors you can find them here
|
Find Your New Favorite Loom
|
Try New Techniques with Our Patterns
|