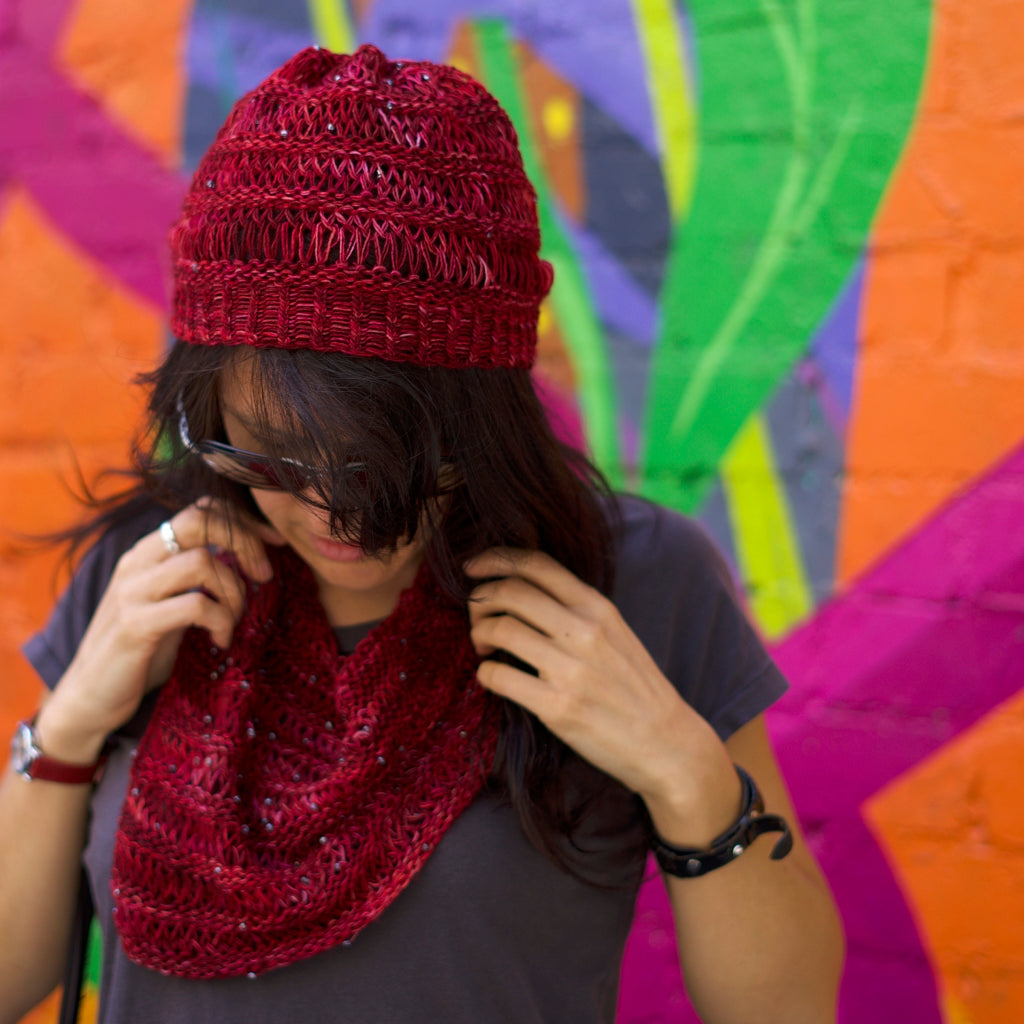
Knitting My Dropstitch Hat and Asymmetrical Cowl
I just wanted to elucidate further on my experience of loom knitting the Dropstitch Hat and Cowl Patterns, and offer some hints and tips for working it, above and beyond what the pattern explains.
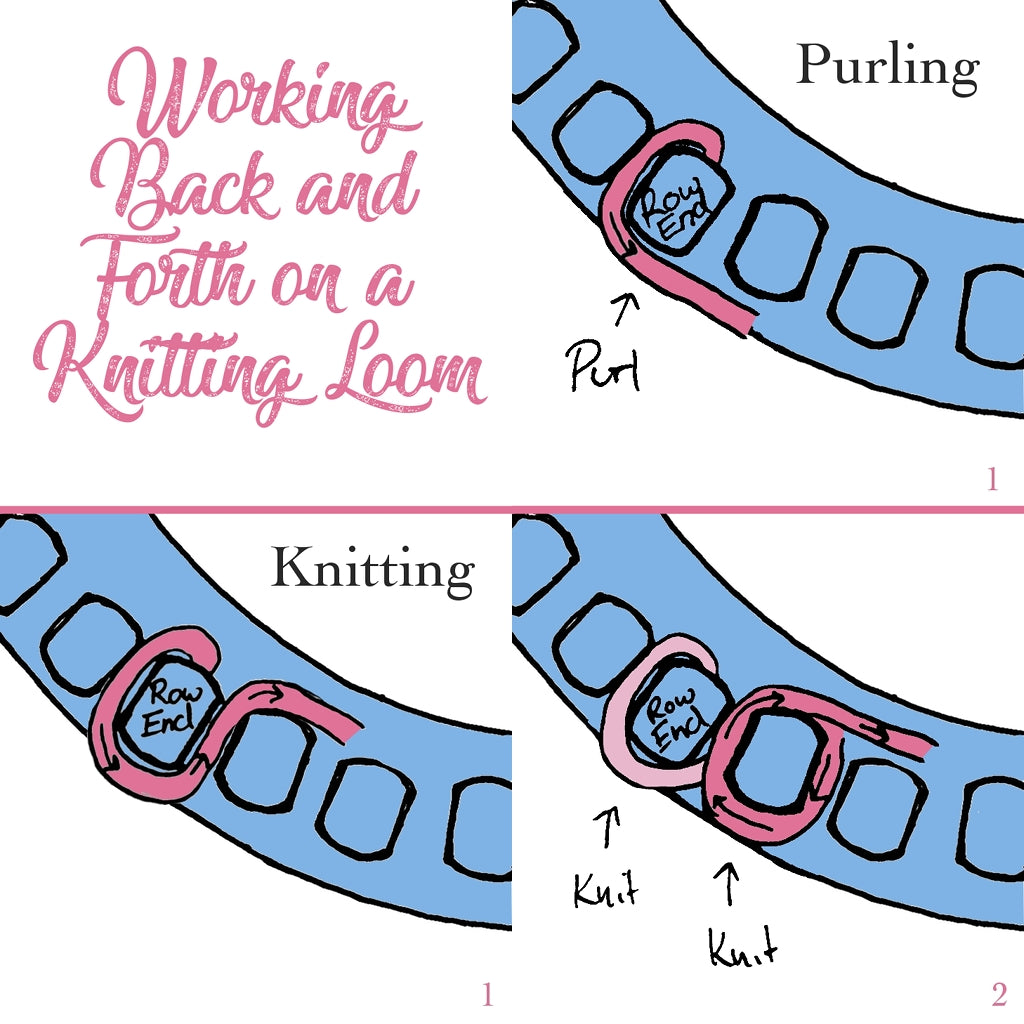
Working Back and Forth
If you've never worked back and forth on a loom- you may be stuck with what to do at the end, how to start working back in the other direction.
If you're purling- you should have the yarn behind the peg as the finishing point of your last stitch, simply bring that yarn around to the front of the peg carrying it around the outside edge of the work and purl as normal. So if you just finished a row going from left to right, and now you need to go back right to left, carry the yarn around the right edge of that last peg.
If you're knitting- follow the same steps as above, bringing that yarn around the front of that first peg, then bring it behind the second peg and do your e-wrap. Almost like a figure 8 but you don't bring it back to the first peg. Then you're ready to e-wrap across your row.
Tricky Rows
Rows 6 & 7 are a bit tricky. When designing the cowl, I initially wanted to keep it simple and create short rows, but that left me with 2 purl stitches on top of each other, and something about that just really bugged me. So I needed to get a knit row in between there to make the pattern consistent. To demonstrate exactly what I did to carry the yarn across to the correct peg to start my next row, watch this video. It shows how to do it for both bulky and sock weight yarn.
Row 19 is where we see our first BO or place stitch marker to indicate BO. Because we're binding off along the top edge of the cowl we need it to be a stretchy bind off, so it's nice and loose, doesn't cut into our face, and will stretch over our head. When I created my cowl, I actually did the stretchy bind off as I worked, binding off 3 stitches at a time using a spare piece of yarn. When it came to trying to explain how to do a stretchy bind off as you're working the piece, it became apparent that it was quite tricky to explain exactly how to do it, because it does require a bit of fudging since you're not always binding off 3 stitches each time. To simplify matters I recommend placing your stitch marker to mark the end of the row and following this method to do a stretchy bind off on your knitting loom at the end.
The Yarn
The weight of yarn you can use on these looms is somewhat flexible- using the adult hat knitting loom always yields me a similar size hat, which actually is a bit big for my head. Because the stitches are knit at a certain circumference when they're cast on, they will always expand out the that circumference, using a super bulky yarn can yield something a bit bigger, but will be knit more densely so it kind of evens out. If you want it less dense you could only use half the pegs, but it would still end up the same finished size.
The fine weight hat and cowl is knit in 2 strands of fingering weight yarn held together, and with beads strung on. For this sample I only strung the beads on one strand, and I used a floss threader as a needle to get the beads on to the yarn. One of the problems I had with having the beads only on one strand was that the added weight was pulling one strand longer than the other, so for our beaded kits, we have opted for Sock Yarn, It will yield a similar lacy result, but will be sturdier for beads and less fuss than carrying 2 strands.
Fitting
To ensure my hat will actually stay on my head, I use round elastic cord and thread it three times around in the rib stitch, ensuring that with the wrong side out I pass the cord through the knit stitches so they don't show on the outside. I tie it off and then play with tightening or loosening it so its the right tension.

If you have any more questions about this pattern that I haven't covered here, feel free to add them in the comments and I will respond.
Happy Looming!
|
Find Your New Favorite Loom

|
Try New Techniques with Our Patterns 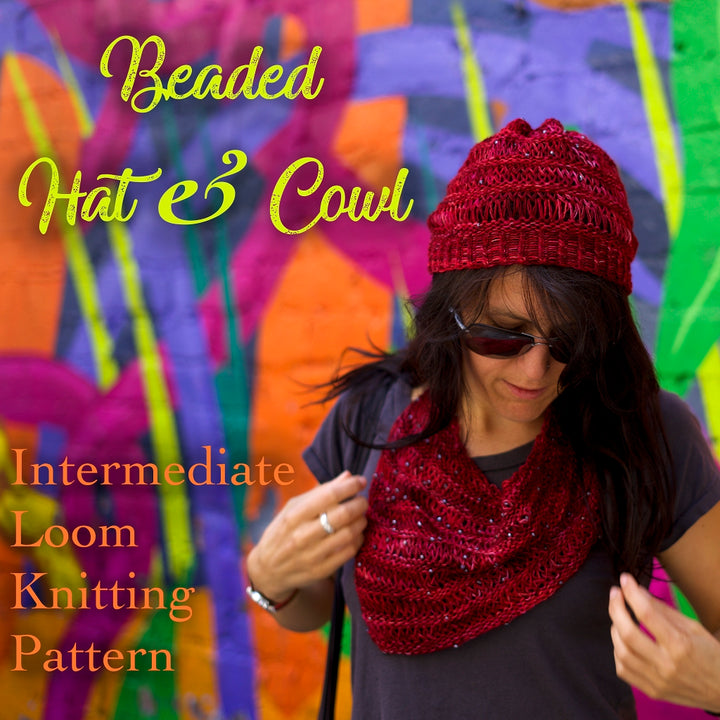
|