
Seam Gauge by Dritz
Free Shipping on Orders Over $60
What is a Seam Width Gauge?
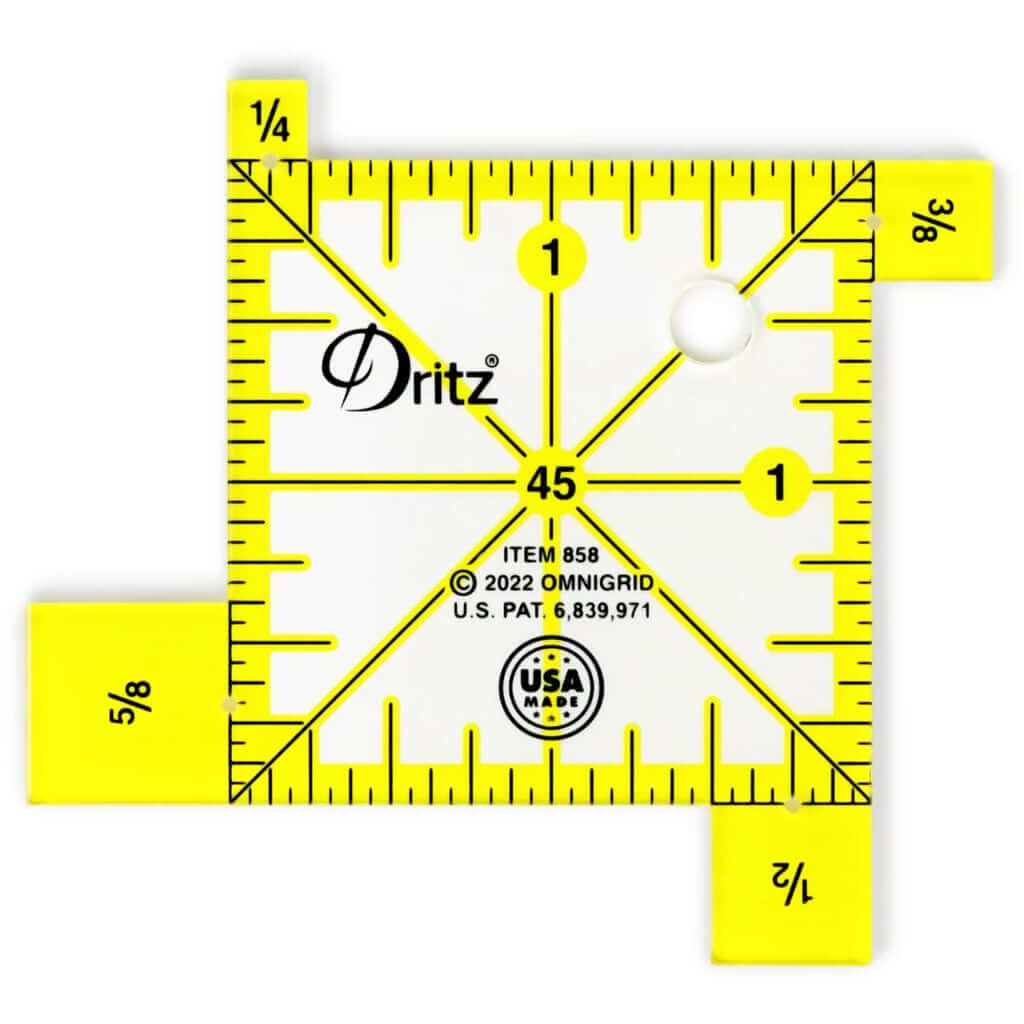
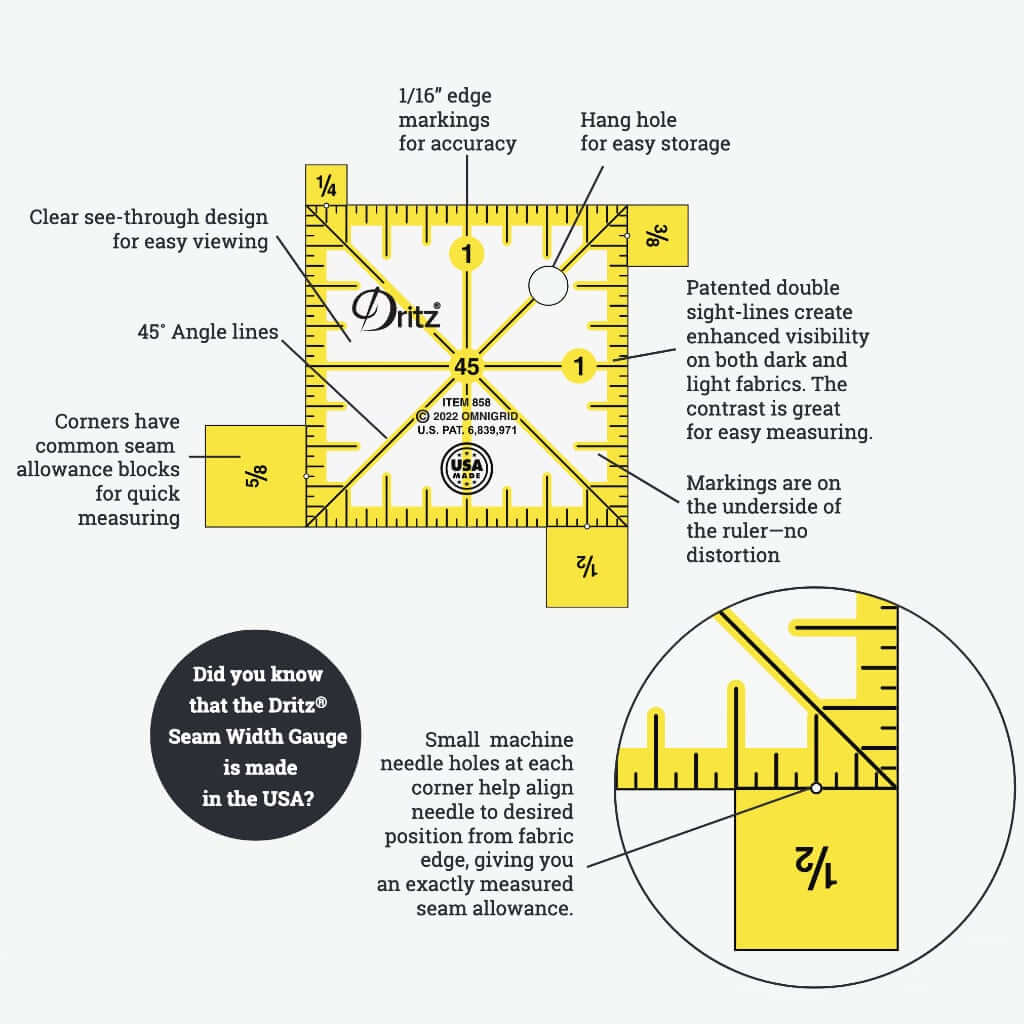
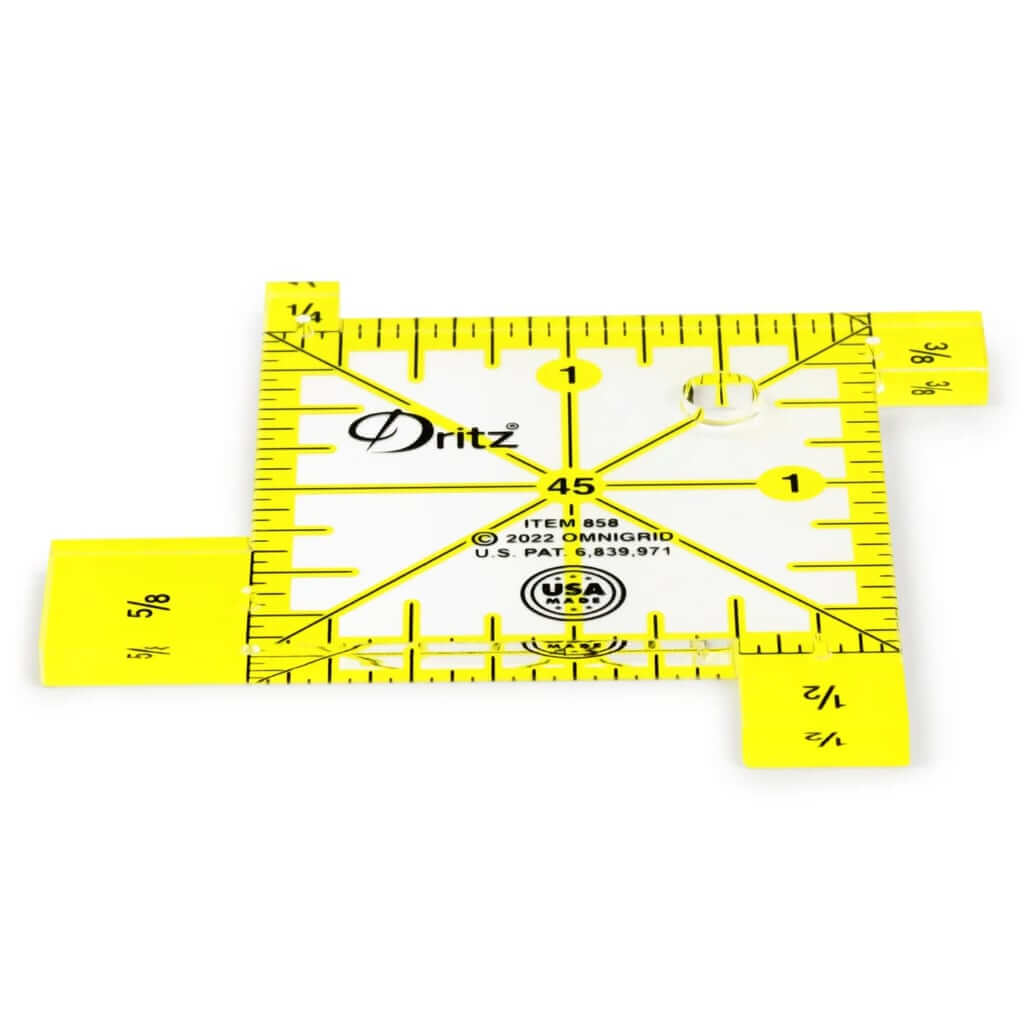
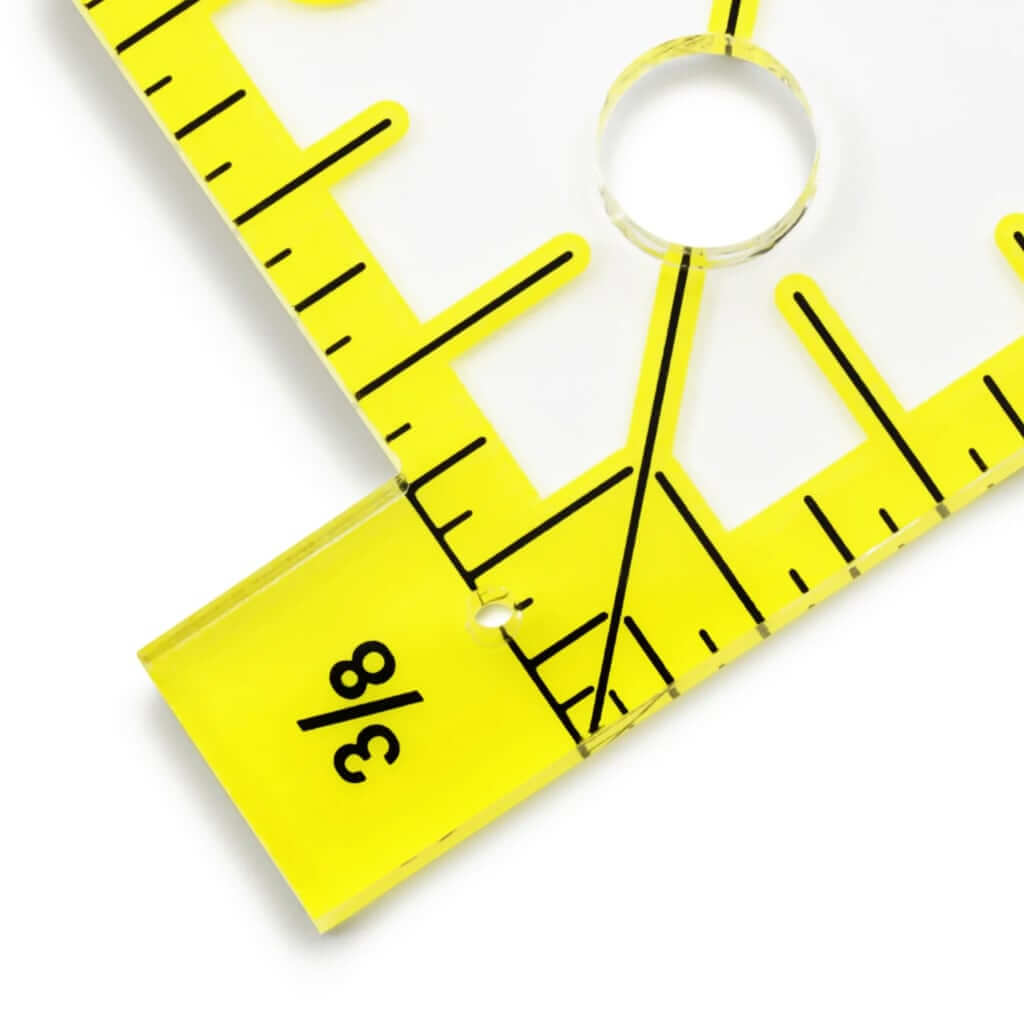
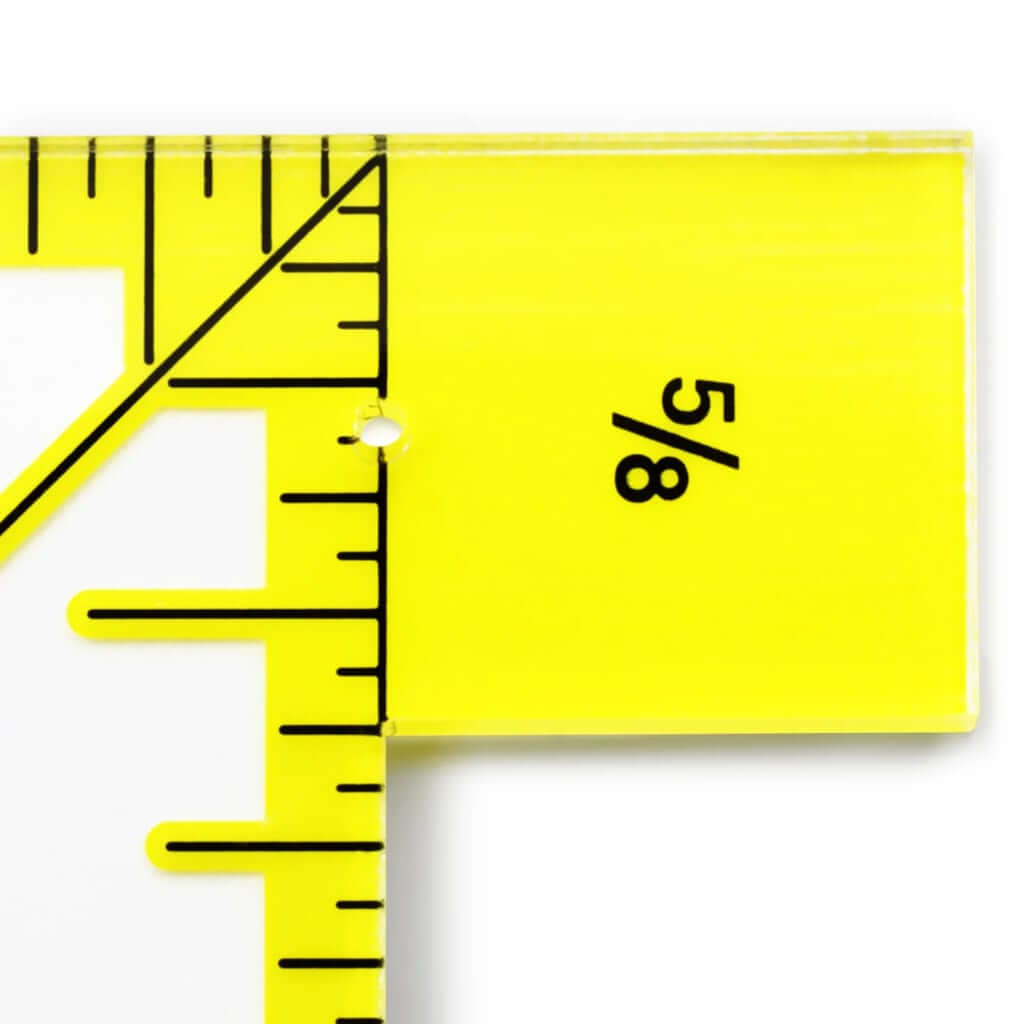
Seams are not all created equal, and yet they need to be quickly and accurately planned and measured. This uniquely crafted tool is a 2” square with extensions at each corner with the most common measurements for quick reference. A 1” grid and 1/16” edge markings make quick measuring a snap! Centered 45º lines help you check bias markings. It comfortably fits in your hand for quick use and the hang hole offers an entirely different purpose—a traveling seam gauge. Hang it from your keychain and you’ll never be without this handy measuring tool again!
- Easy-to-see markings for light and dark fabrics
- Includes edge markings for accuracy and printing on bottom of ruler provides no distortion
- Laser cut, durable 1/8″ acrylic with hang hole for easy storage
- Size: 2" with 1/4", 3/8", 1/2" and 5/8" edge extensions
- How to Use Technique Tutorial available for gauge
How to Use Seam Width Gauge to Measure Seams |
|
| Quilting: Quilters know that 1/4” is the gold standard for quilt seams that press flat with minimum bulk. But these seams must be accurate or quilt squares will not match in size, and the finished appearance of the quilt will be skewed. The 1/4” extension allows you to quickly check the accuracy of the seam measurement. |
 |
| Garment Sewing: Traditionally pattern seam allowance on commercial patterns was 5/8” and still is. However, many indie pattern companies use a 1/2” seam allowance. Both of these often-used sizes are on the gauge. Simply choose the correct corner extension to check your measurement. |
 |
| Crafting: A 1/4” or 3/8“ seam allowance is commonly used on craft patterns. This small size is perfect for creating clean seam lines with no bulk. Choose the corner with the extension marked with the required size to measure and mark or to check the seams as you stitch. |
 |
How to Use a Seam Width Gauge for Specific Techniques: |
|
| Zipper Placket Stitching: The width may vary with the project, but accuracy is essential. A lapped zipper needs to have a straight, even placket. Use the 3/8” or 1/2“ corner extension to help guide your stitching. For a centered zipper, each side must match. Use 1/4” for garments. Zippers used for home decor have a thicker coil; for these use the 3/8” guide. |
 |
| Topstitching: Garments have topstitching to emphasize a seam line. Usually 1/4” gives a nice finished appearance. Home decor often requires a bit more distance due to heavier fabric. Either 1/4” or 3/8” can be easily measured with the correct corner of the seam width gauge. |
 |
How to Use a Seam Width Gauge to Set the Stitching Seam Allowance: |
|
| Machine Needle Positioning: Sometimes you need a little extra help. Small holes have been drilled at the center inside edge of each corner extension. These are designed as guides for the needle. Make sure needle comes down at your chosen seam measurement by placing the gauge under the presser foot. Lower needle until it just pierces the hole. This is a bit difficult to see. See the tip to the right. You may need to adjust needle position to the left or to the right for perfect placement. The measurement is always from the needle to the edge of the ruler. Once you have determined the correct seam allowance, mark it. You can do this in a couple ways. | 
|
|
To Mark the Seam Width: |

|
| To Remove the Seam Width Gauge: Raise needle and foot. This process will allow you to choose the most accurate place to align your fabric for the required seam allowance. | 
|
SHIPPING & RETURNS
Orders are shipped via economy shipping (3-9 business days) and the cost is based on order weight.
Shipping and Delivery is the charge for Internet order processing, item selection, packaging, transport and handling. Delivery times are not guaranteed, but are our best approximation and will vary with specific requests. Shipments and deliveries only occur on weekdays. Shipping and Delivery is subject to change and will be determined at the time of order.
If your order is received by 10AM Monday through Friday, we will ship it same day. Every effort will be made for Saturday shipments when possible.
Additional charges may accrue on Priority, Overnight and International shipping if multiple attempts are made for delivery.
International shipping costs vary by location and service type, we will contact you via email, to choose shipping methods and charges. Please note that additional fees may apply, such as customs, duties & taxes (including GST/HST/VAT), etc.
Choose options